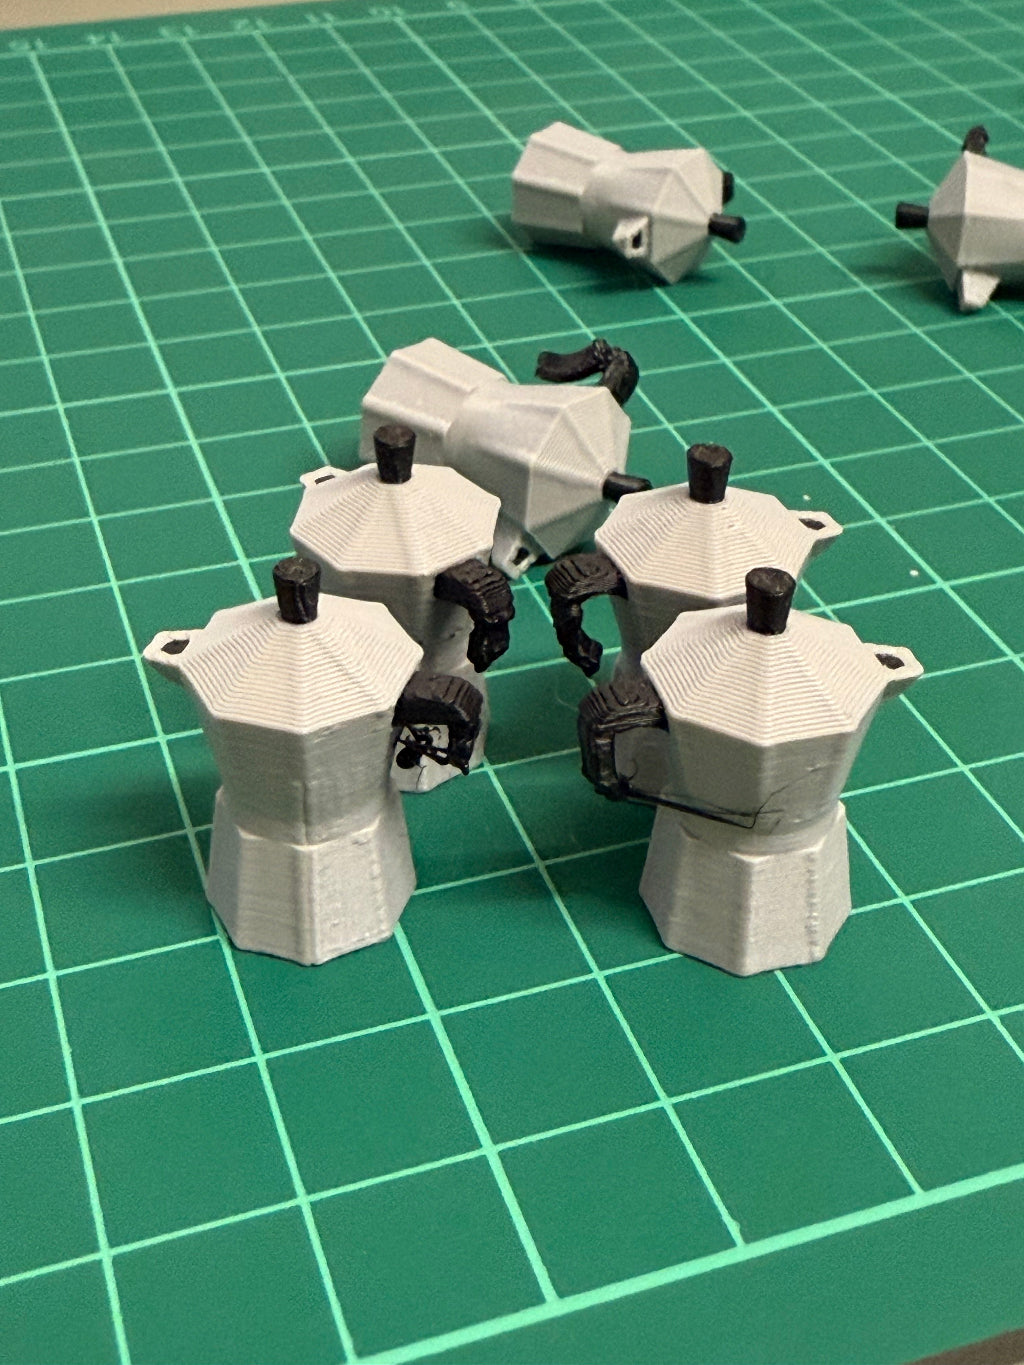
From CAD to Coffee Ride: How a Bialetti Valve Cap Comes to Life
Share
At LuCycle, every idea starts with something personal. For me, it was simple: I love coffee, and nothing represents coffee culture better than the iconic Bialetti moka pot. So I thought – why not take that symbol with me on my bike?
Step 1 – CAD Design
The journey begins in Fusion 360, where I model the Bialetti shape in miniature scale. The biggest challenge is keeping it true to the original while making it functional as a valve cap. It has to fit snugly on a Presta valve – not too loose, not too tight.
Step 2 – Prototyping & Adjustments
Once the CAD model is ready, I export it as an STL file and send it to the 3D printer. The first prints always need adjustments: wall thickness, details, proportions. What looks perfect on the screen doesn’t always work in real life.
Step 3 – 3D Printing with PETG
For durability, I print the caps in PETG filament. Unlike standard PLA, PETG holds up better outdoors – it resists sun, heat, and weather. Each cap is printed layer by layer in around 30–60 minutes.
Step 4 – Post-Processing
After printing, the parts are cleaned and finished. Small adjustments make the difference between “just printed” and “ready to ride.”
Step 5 – The Finished Product
The final step: testing. I check the cap on different Presta valves to make sure the fit is solid. The result is a tiny moka pot that travels with you on every ride – a mix of cycling passion and coffee love.
At LuCycle, this is what it’s all about: turning fun ideas into real accessories that make your bike smile.
